Quick Start
Before you can start using Vapor Red, make sure to signup at dashboard.vapor.red. Once you are logged into your new account, you are ready to create your first server.
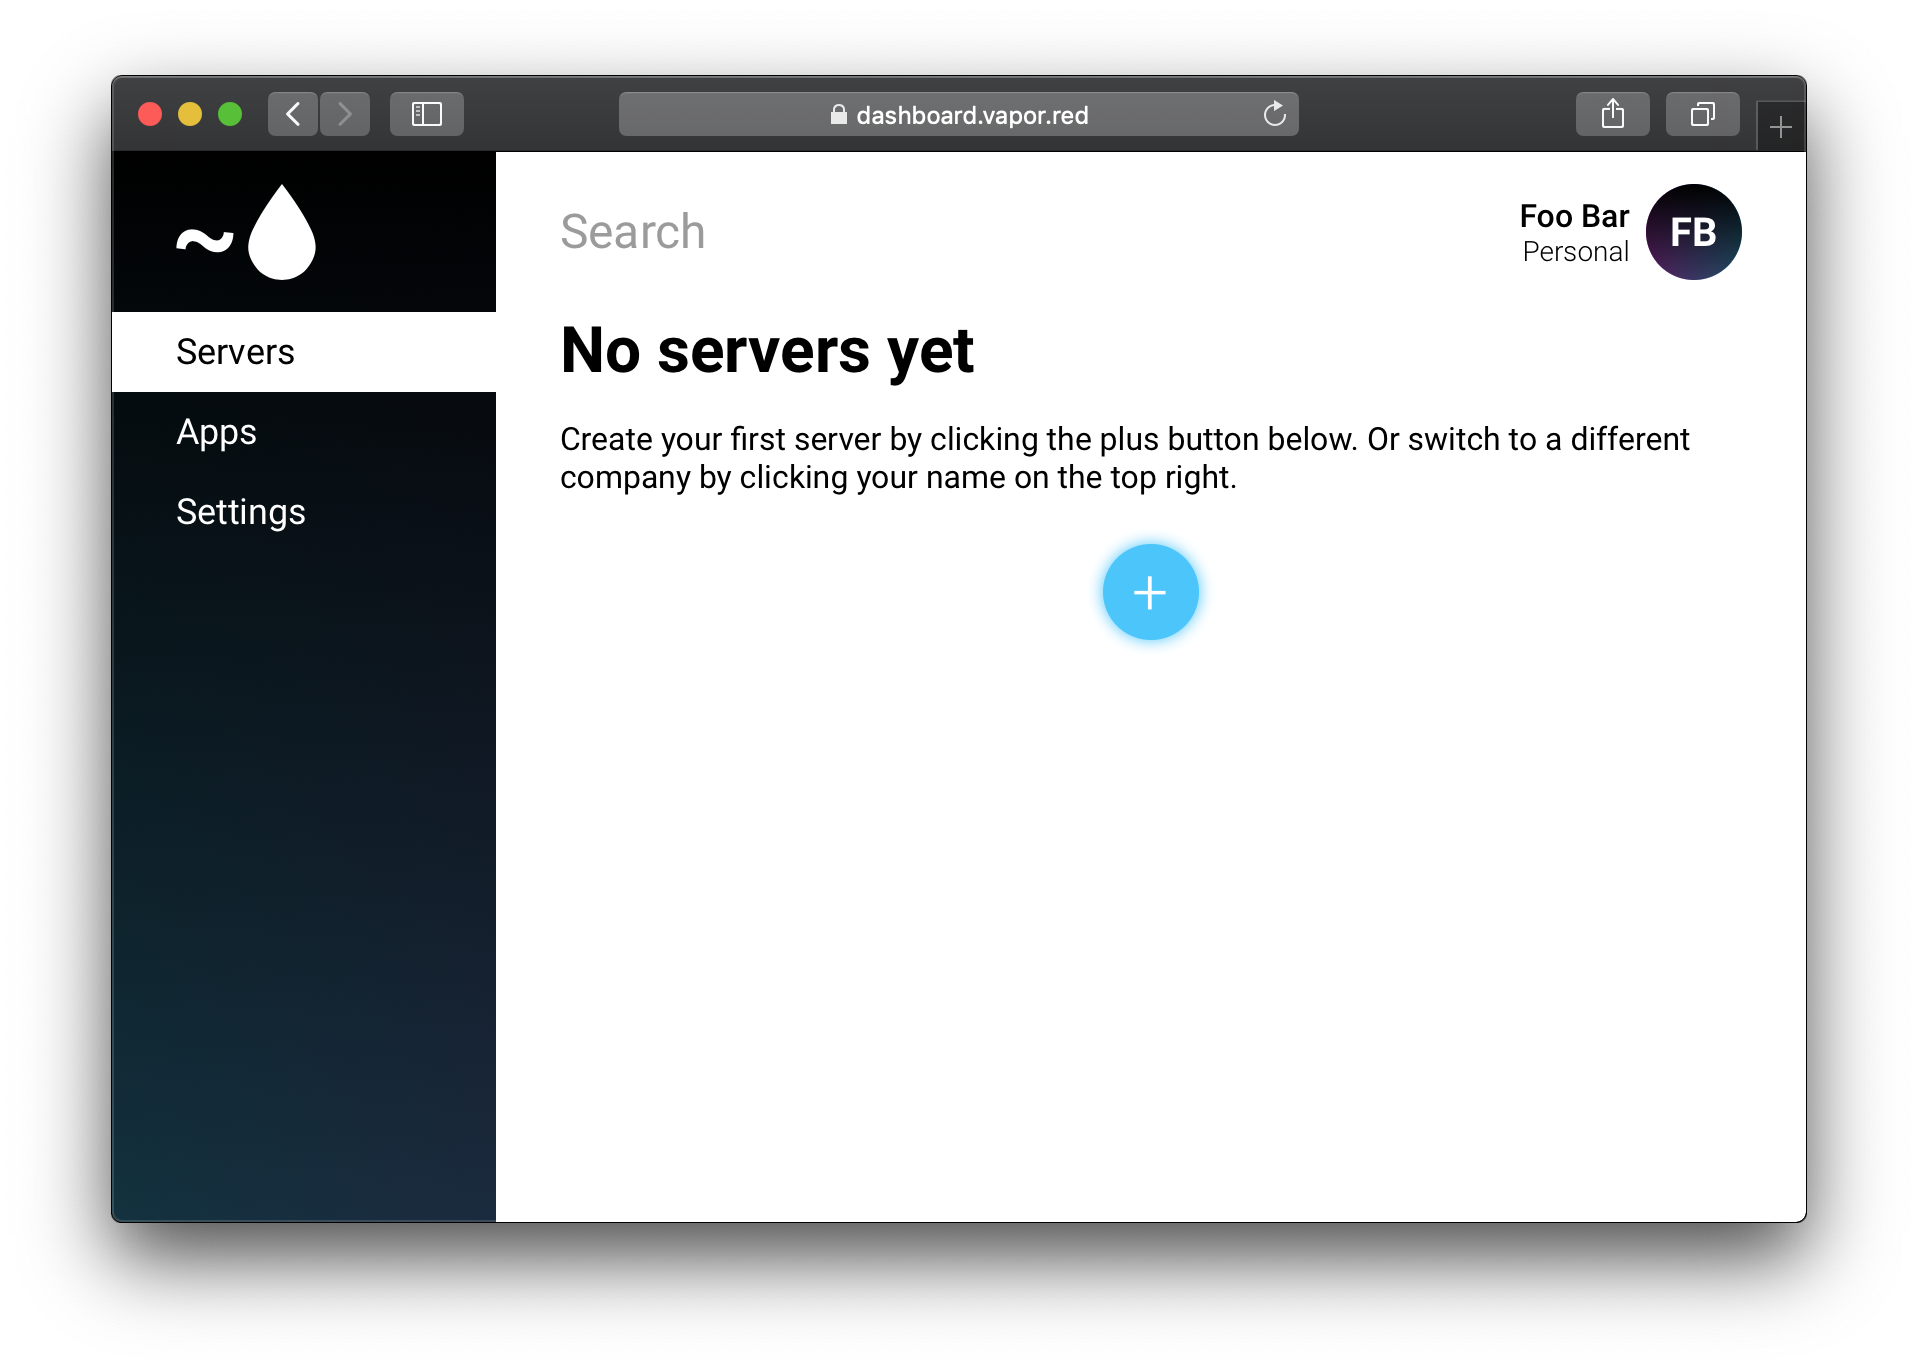
Click the blue plus button on the Servers page to get started.
Add Provider
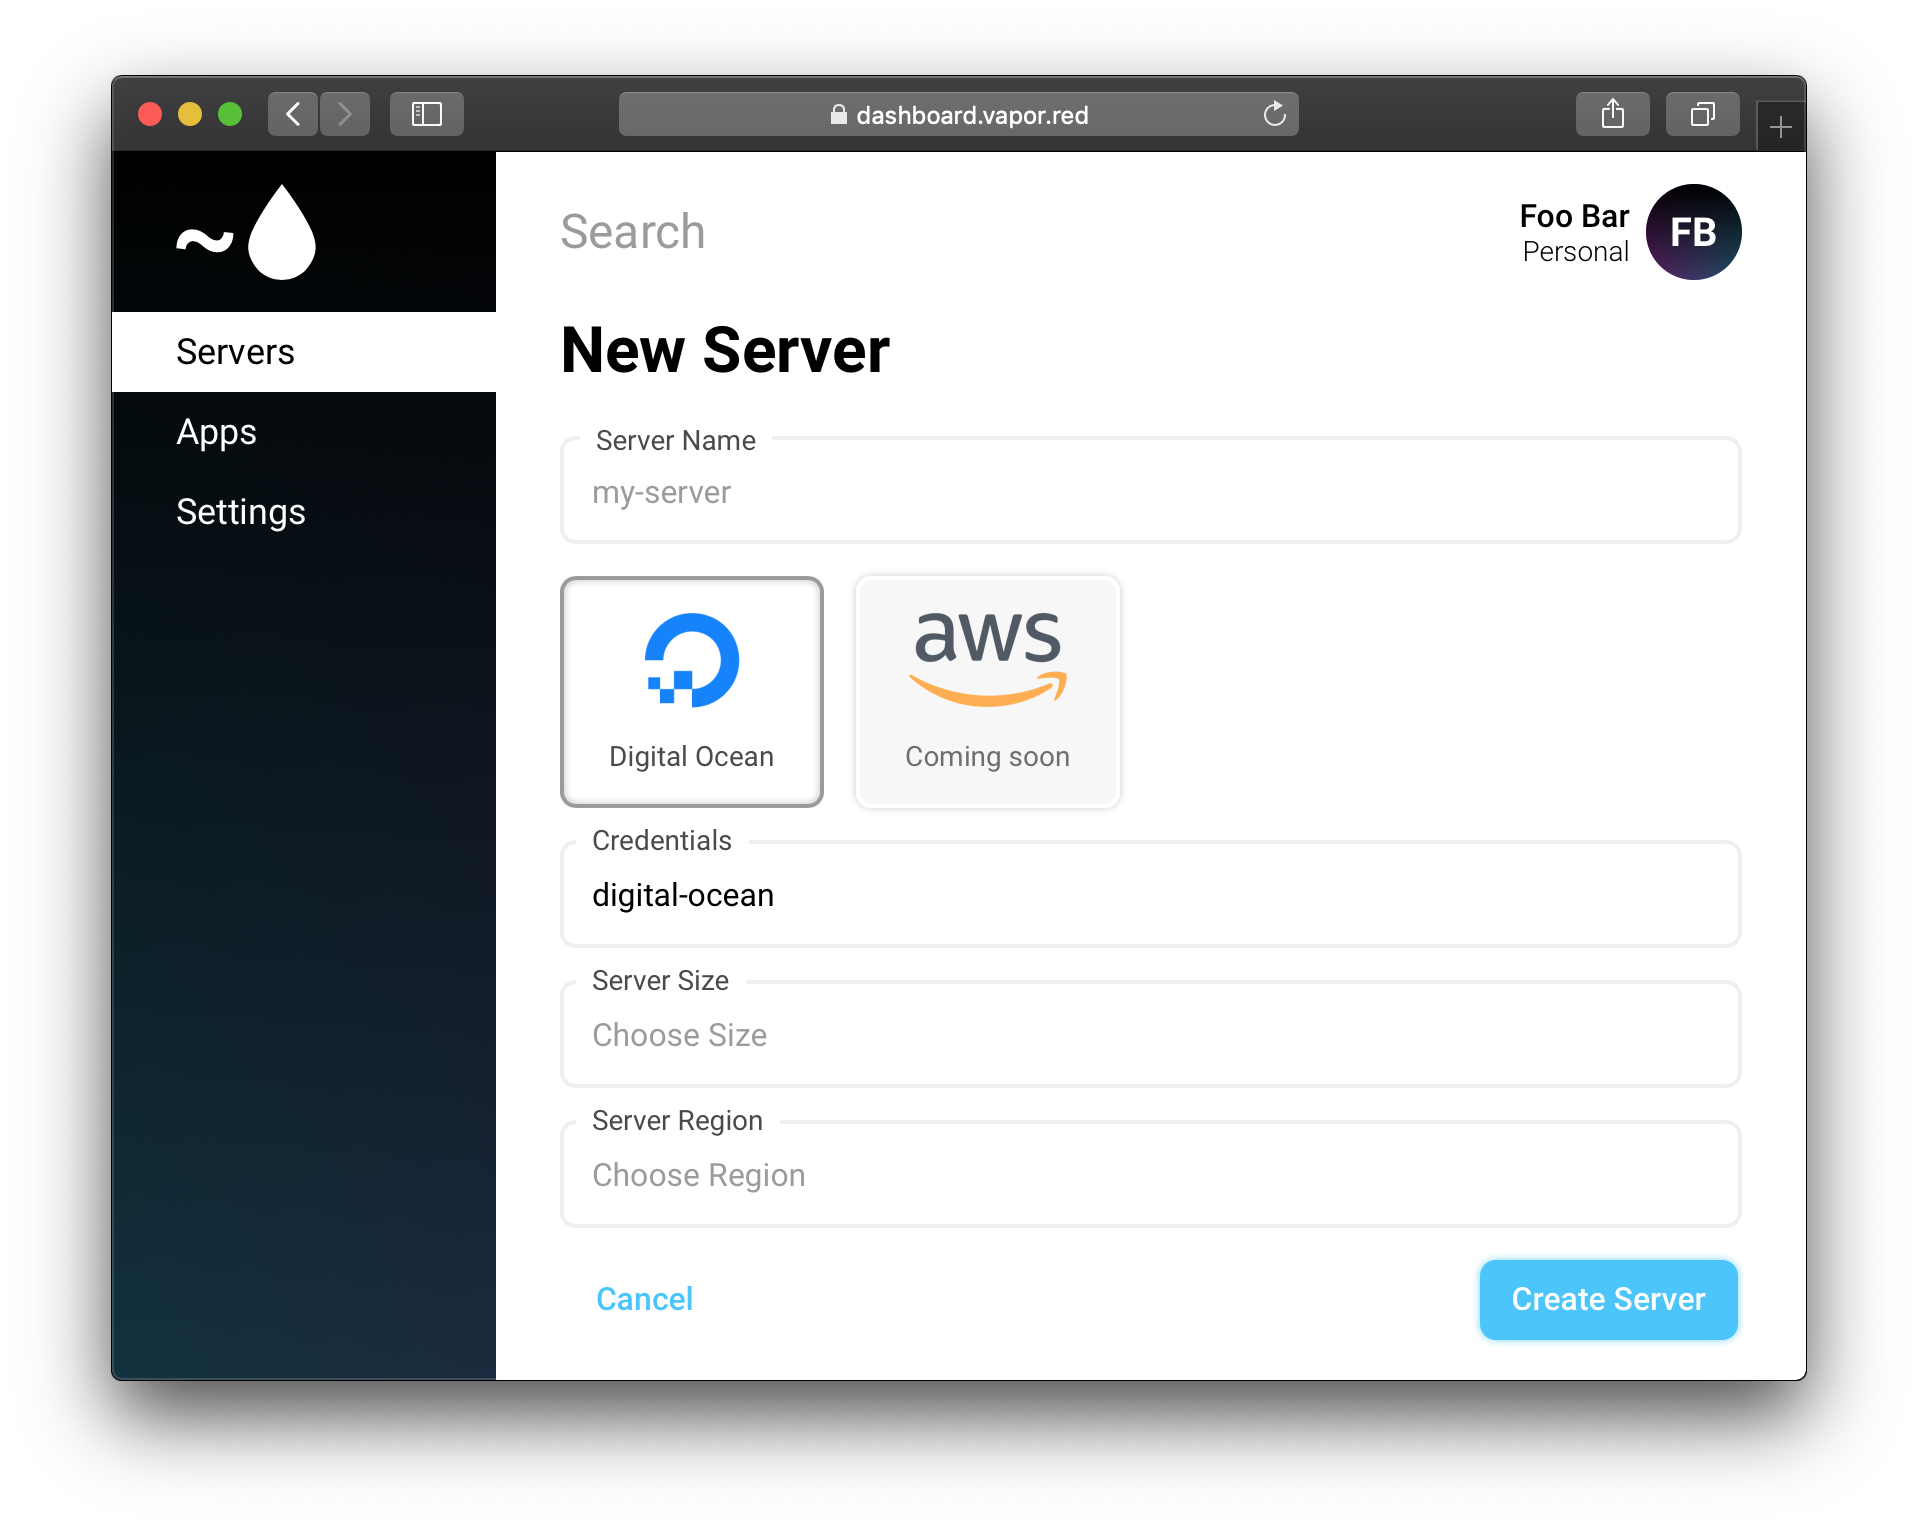
To create a server, you first need to configure credentials for one of Vapor Red's supported cloud platforms. Select one of the providers below for a step-by-step guide on configuring credentials.
| Provider | Docs |
|---|---|
| Digital Ocean | Getting Started → |
| AWS | Getting Started → |
After you have configured the credentials for the first time, you will be able to re-use them in the future when creating new servers.
Create Server
Once you have chosen which credentials to use for this server, select the server options like size and operating system.
Tip
When selecting Ubuntu version, make sure to select the version supported by the Swift version you want.
When you are done selecting options, click the Create button and Vapor Red will begin initializing your new server.
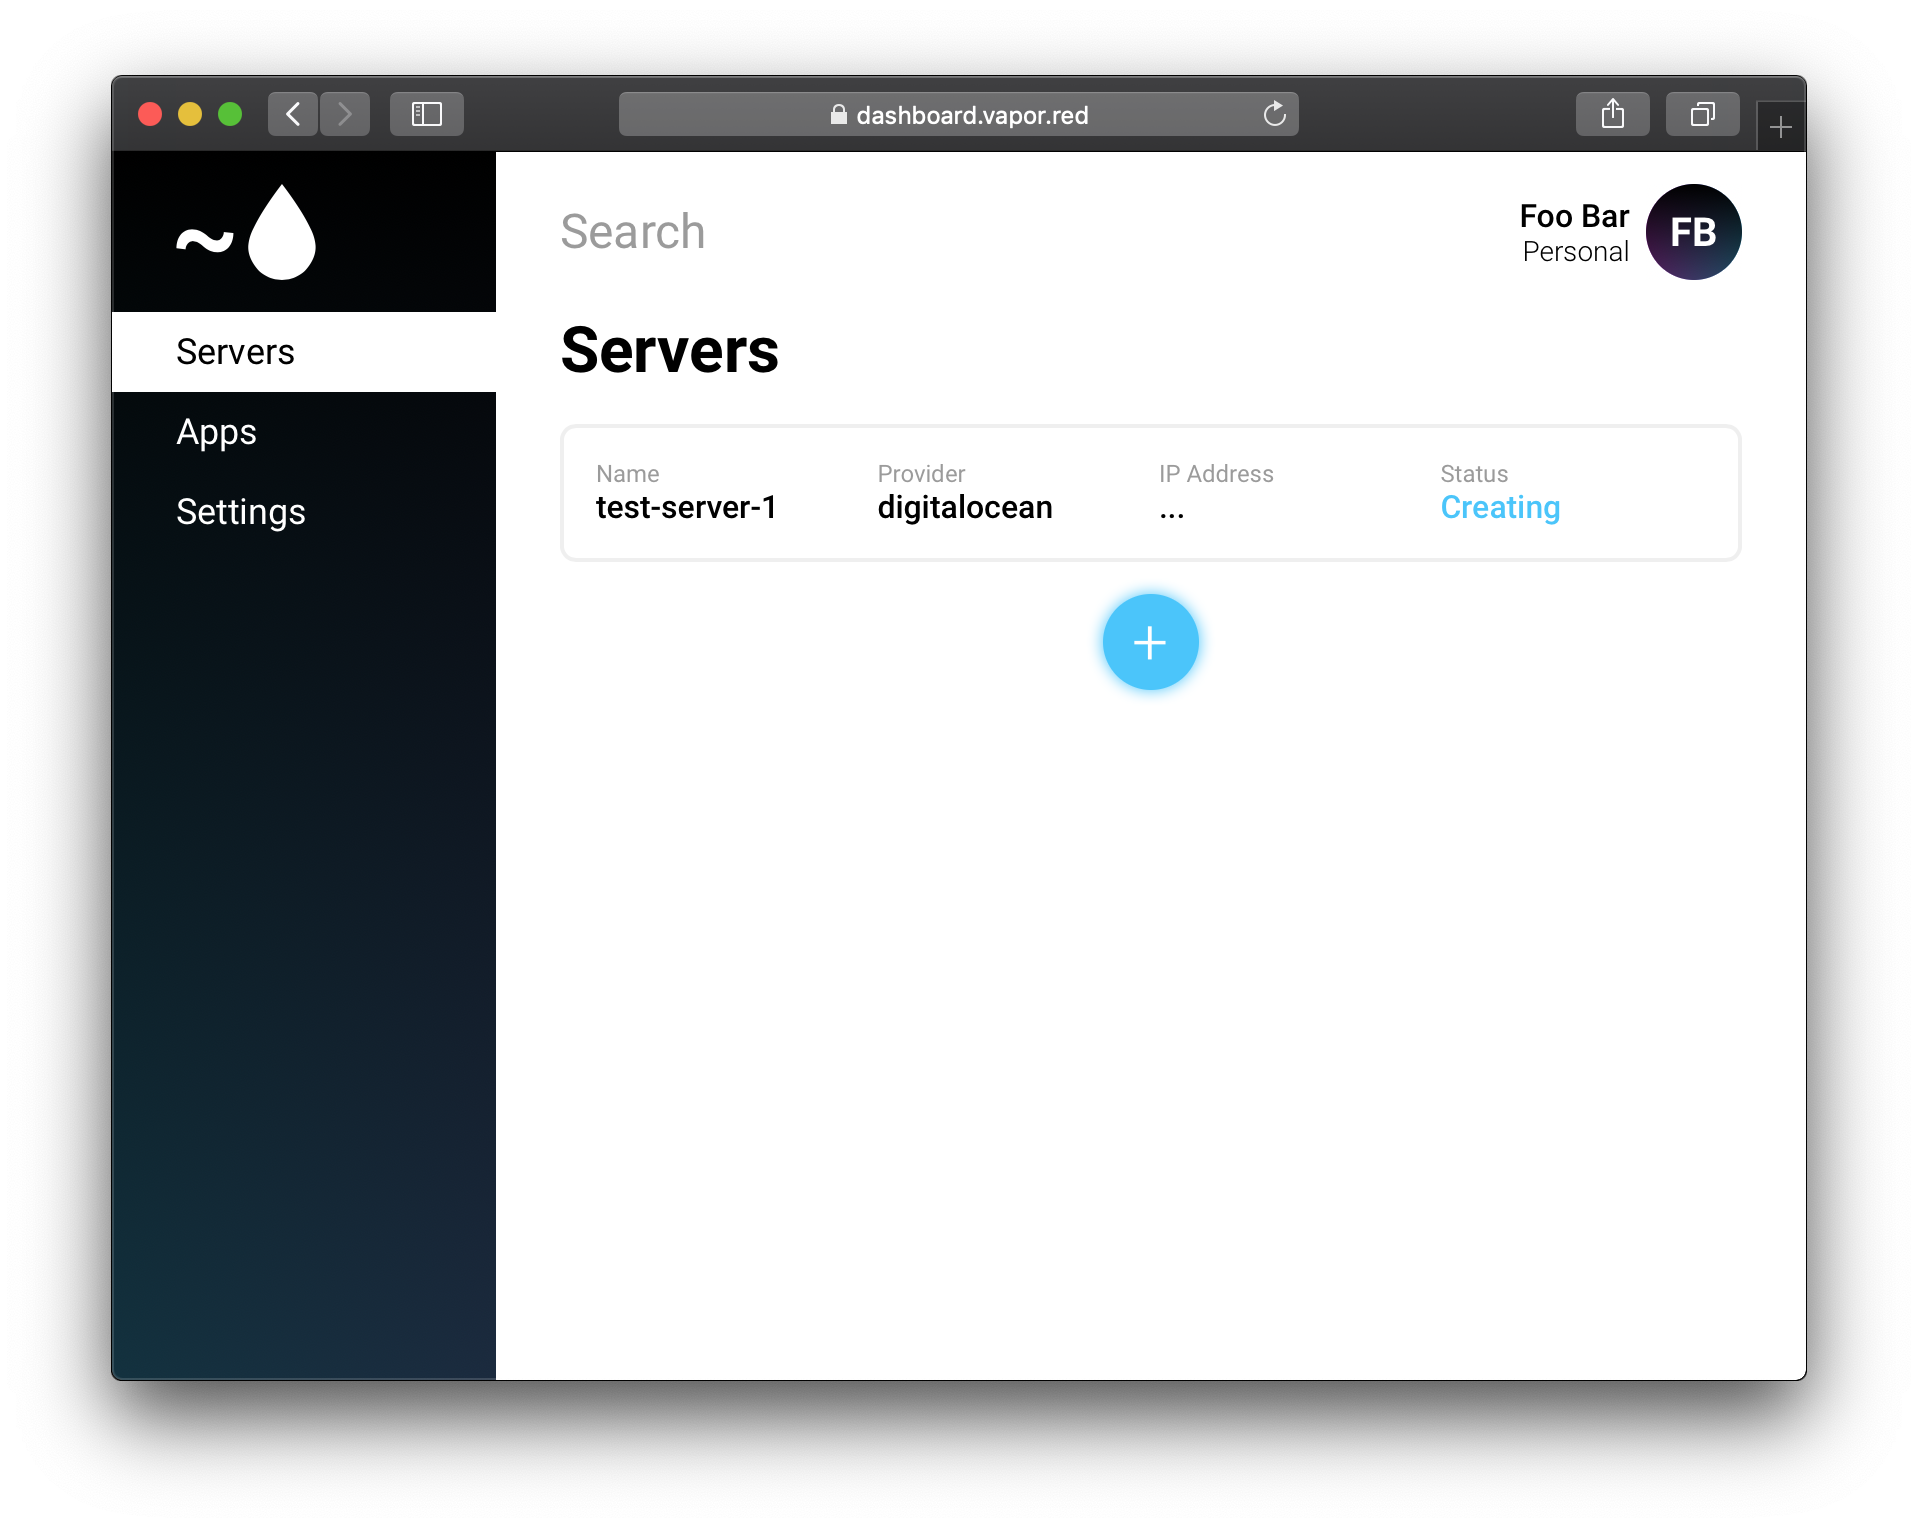
You will receive an email once your new server is ready to use.
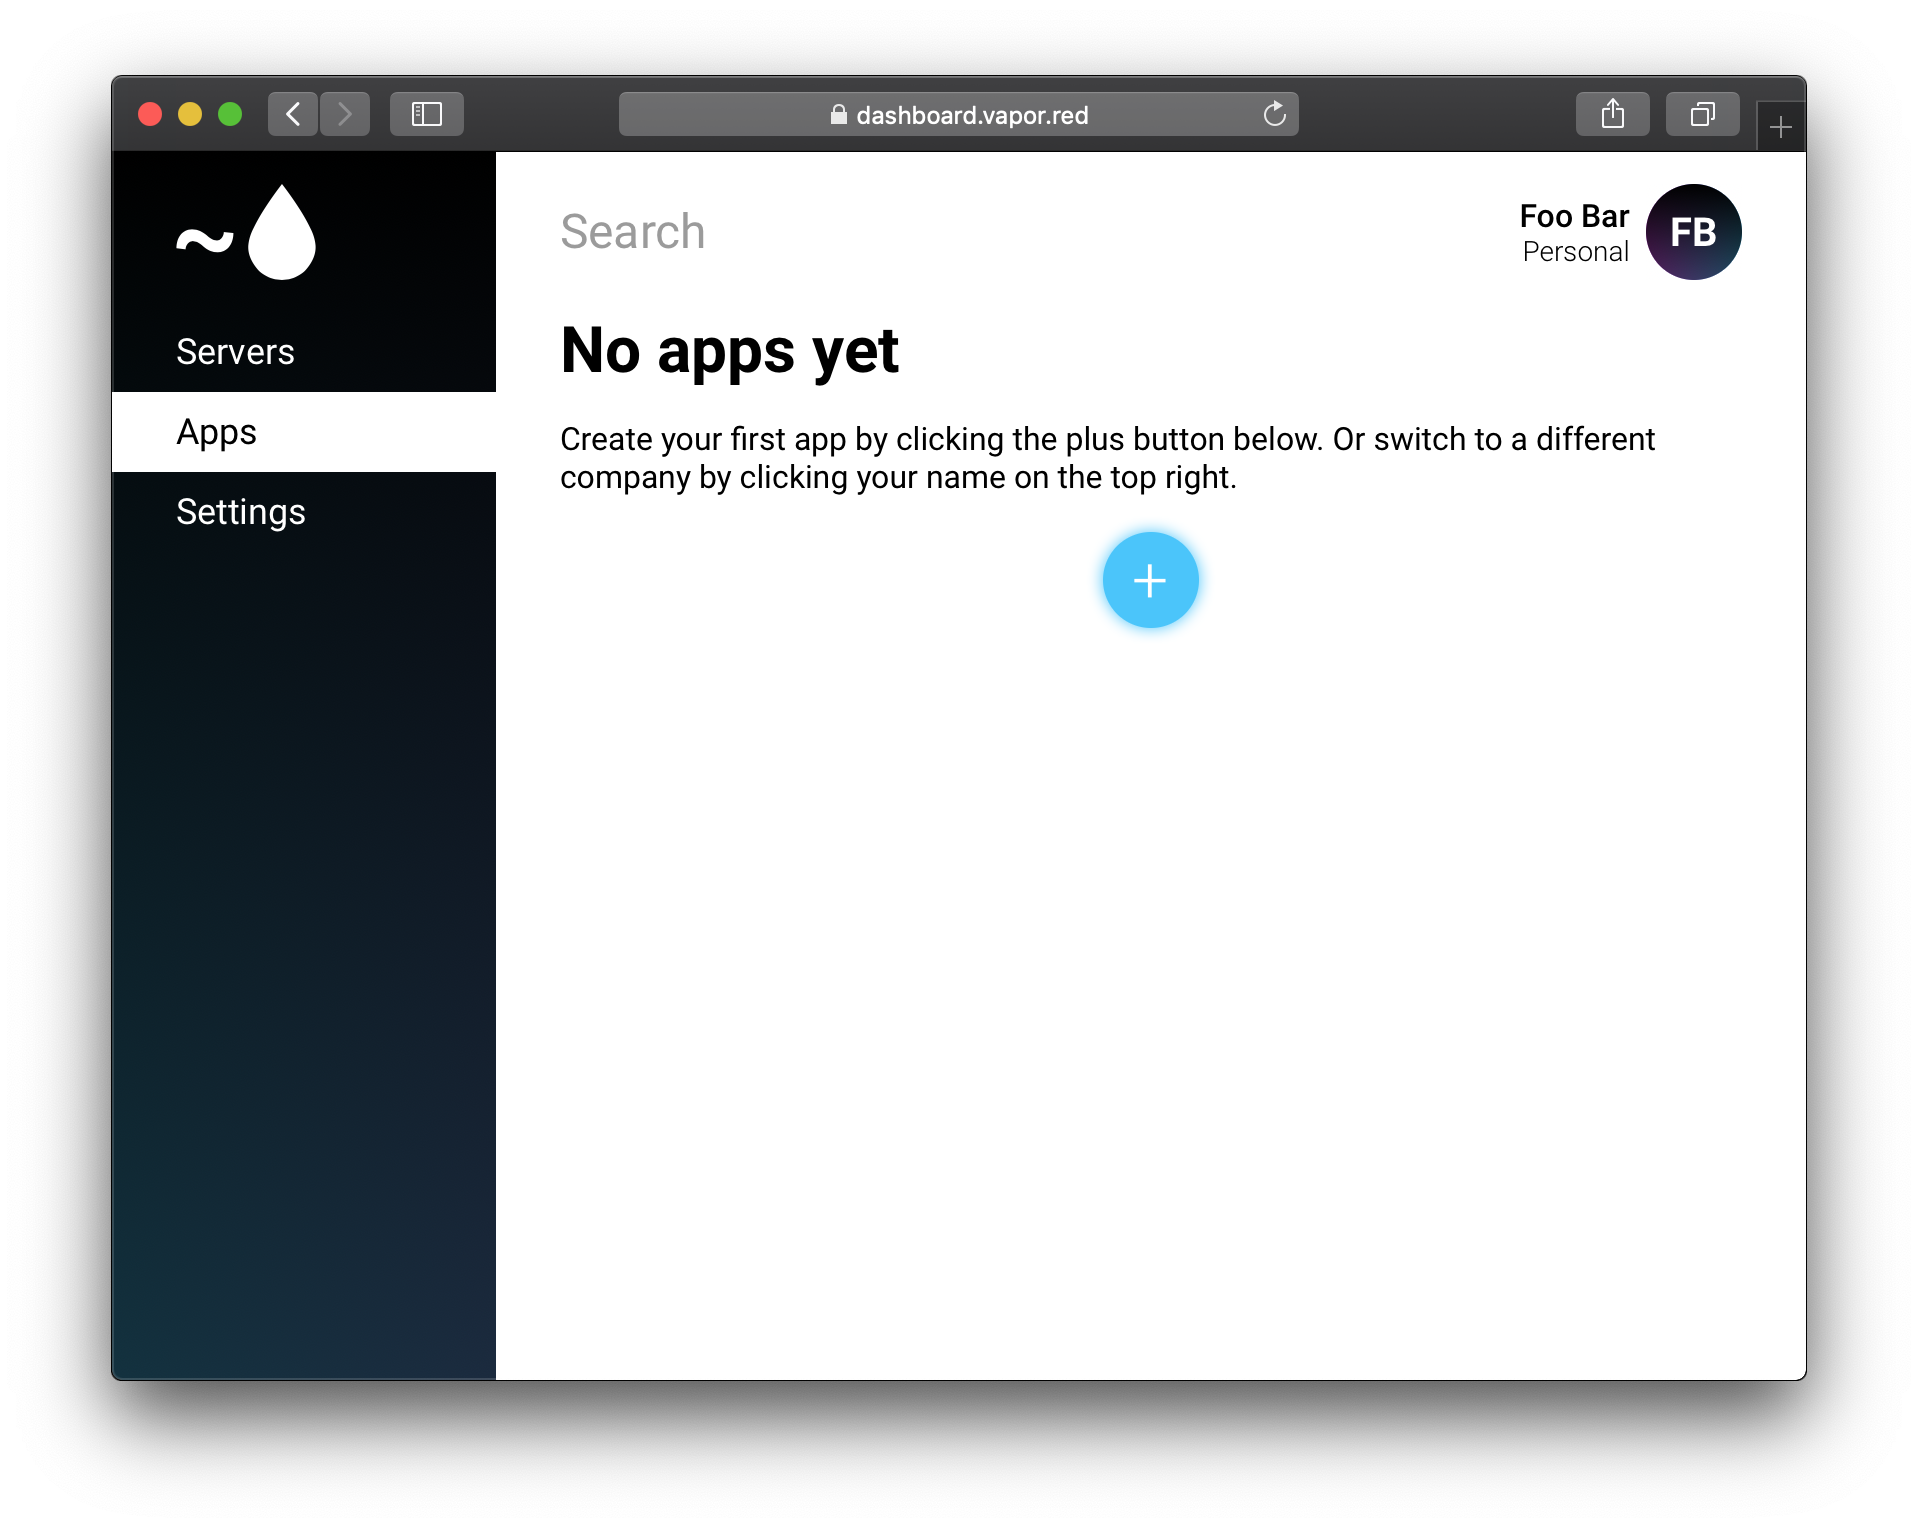
Create App
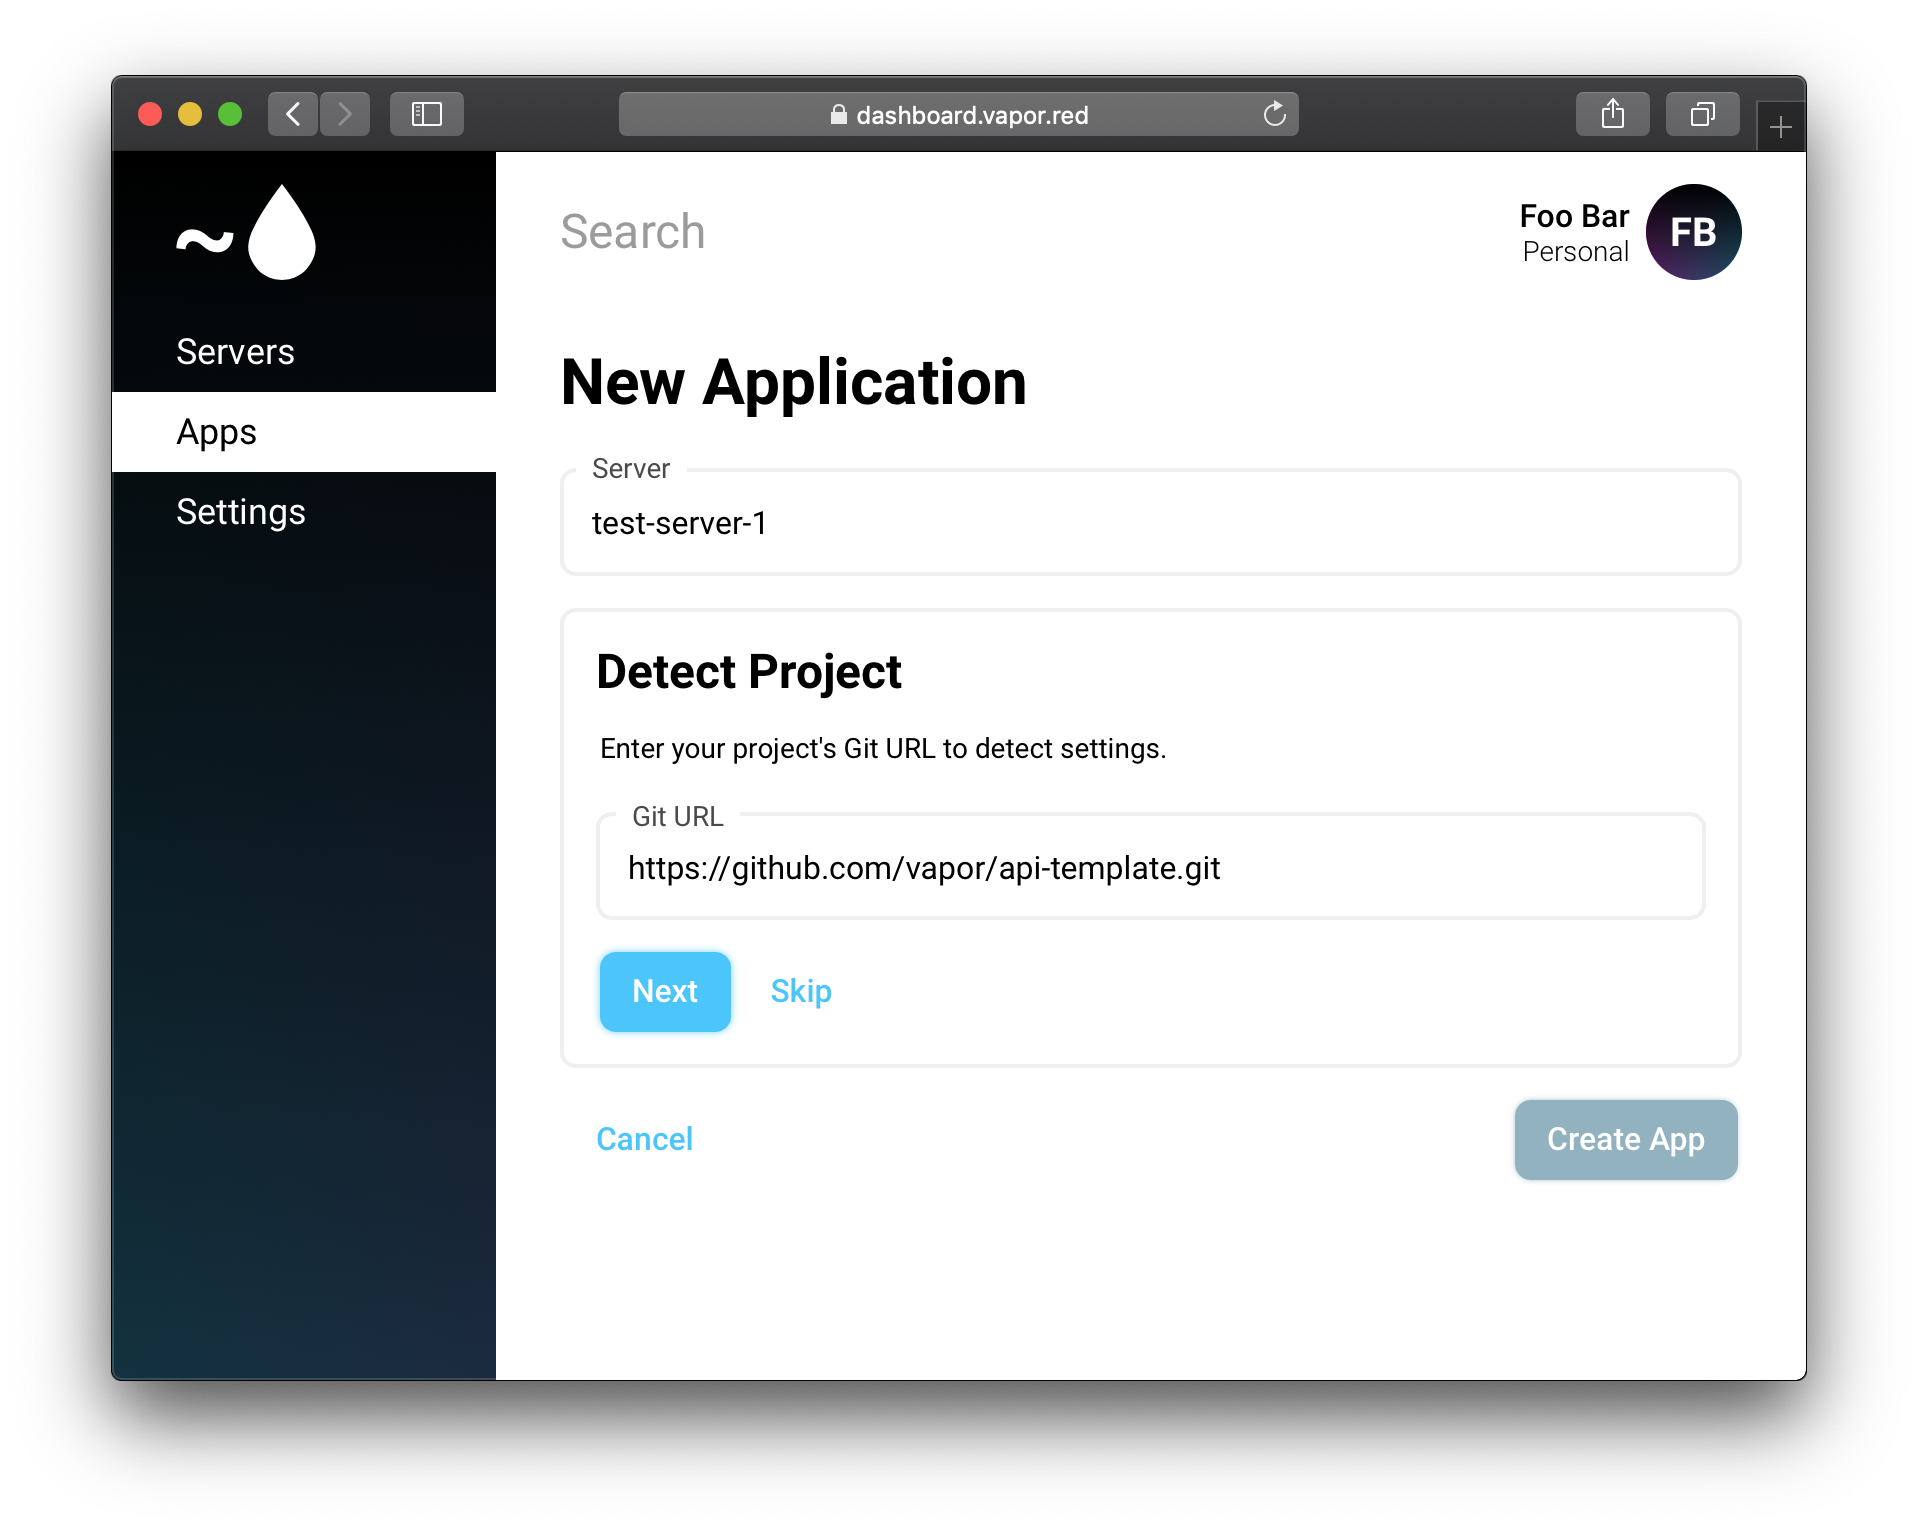
Once your server is ready, navigate to the Apps page, and click the blue plus button.
Select your newly created server, then enter the git remote for the app you want to deploy. For this example, we will be deploying Vapor's API Template.
Click next, then fill in the appropriate branch and framework.
Note
If you use an SSH (git@...) remote, you will be prompted to add your server's public key to your git account. This key is unique to your server and allows it to checkout the repository.
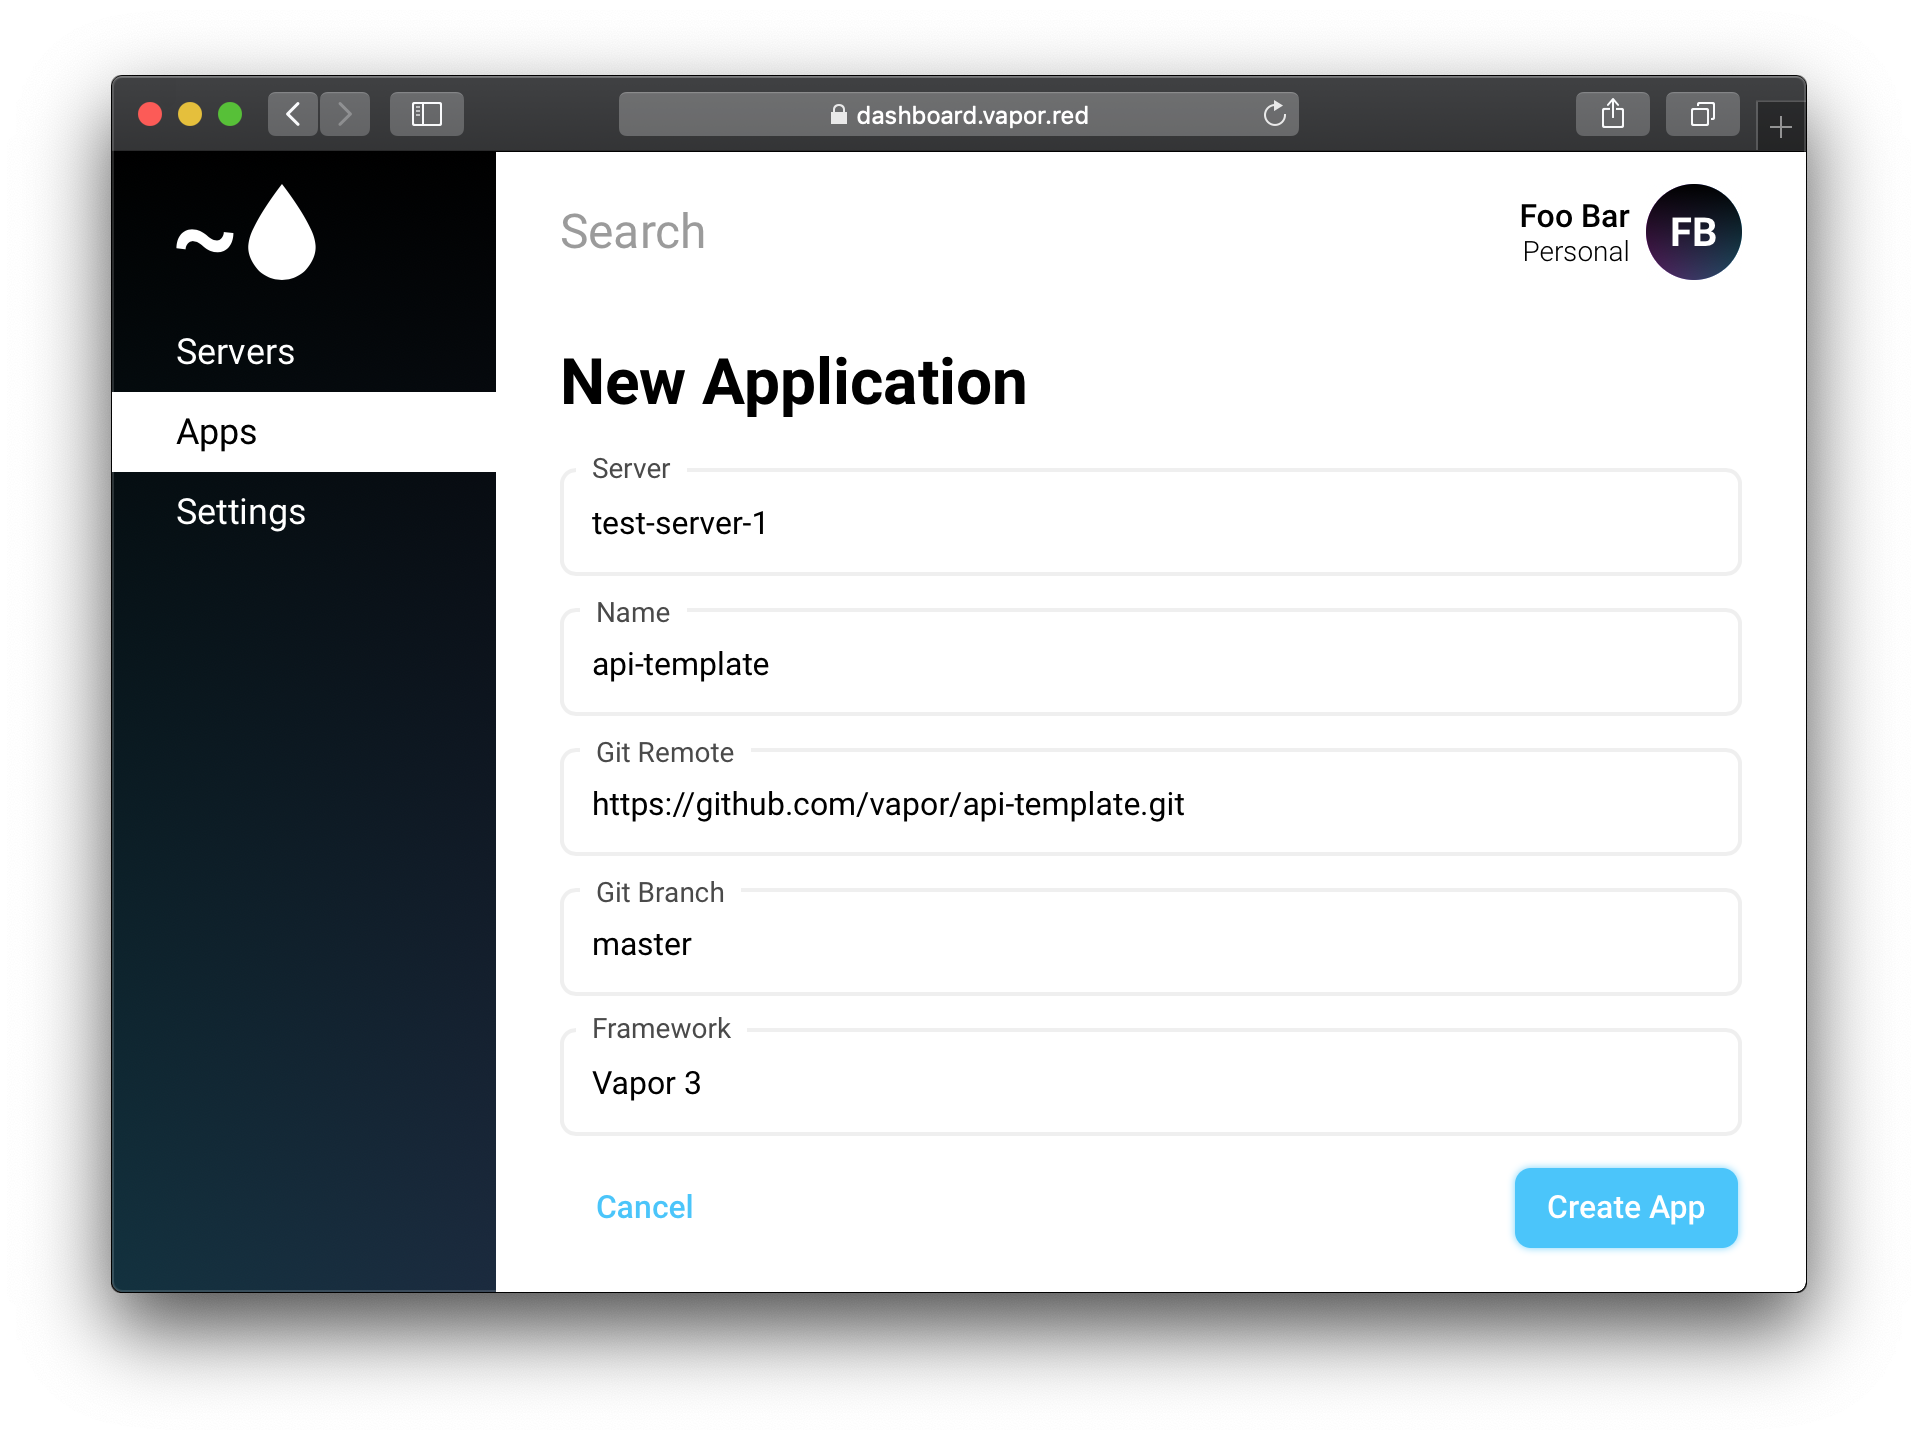
Once you have filled in all required fields, click Create App.
Bootstrap App
After your app has been created, you will be directed to the app bootstrap guide. This guides you through setting up your application step-by-step.
Follow these instructions until you are finished. Then, click deploy!
Advanced config
You can configure your application in the settings page.

Here you see four different boxes:
-
Environment Here you can set environment variables your app need, you should add one per line, e.g.:
KEY1=VAL1
KEY2='VALUE WITH SPACE'
-
Deploy script This is the script the system will run during deploy, this can be customized if you want to add additional steps.
-
Deploy hook This is a simple GET endpoint to trigger a deploy of the app, which e.g. Can be setup as part of your CI process
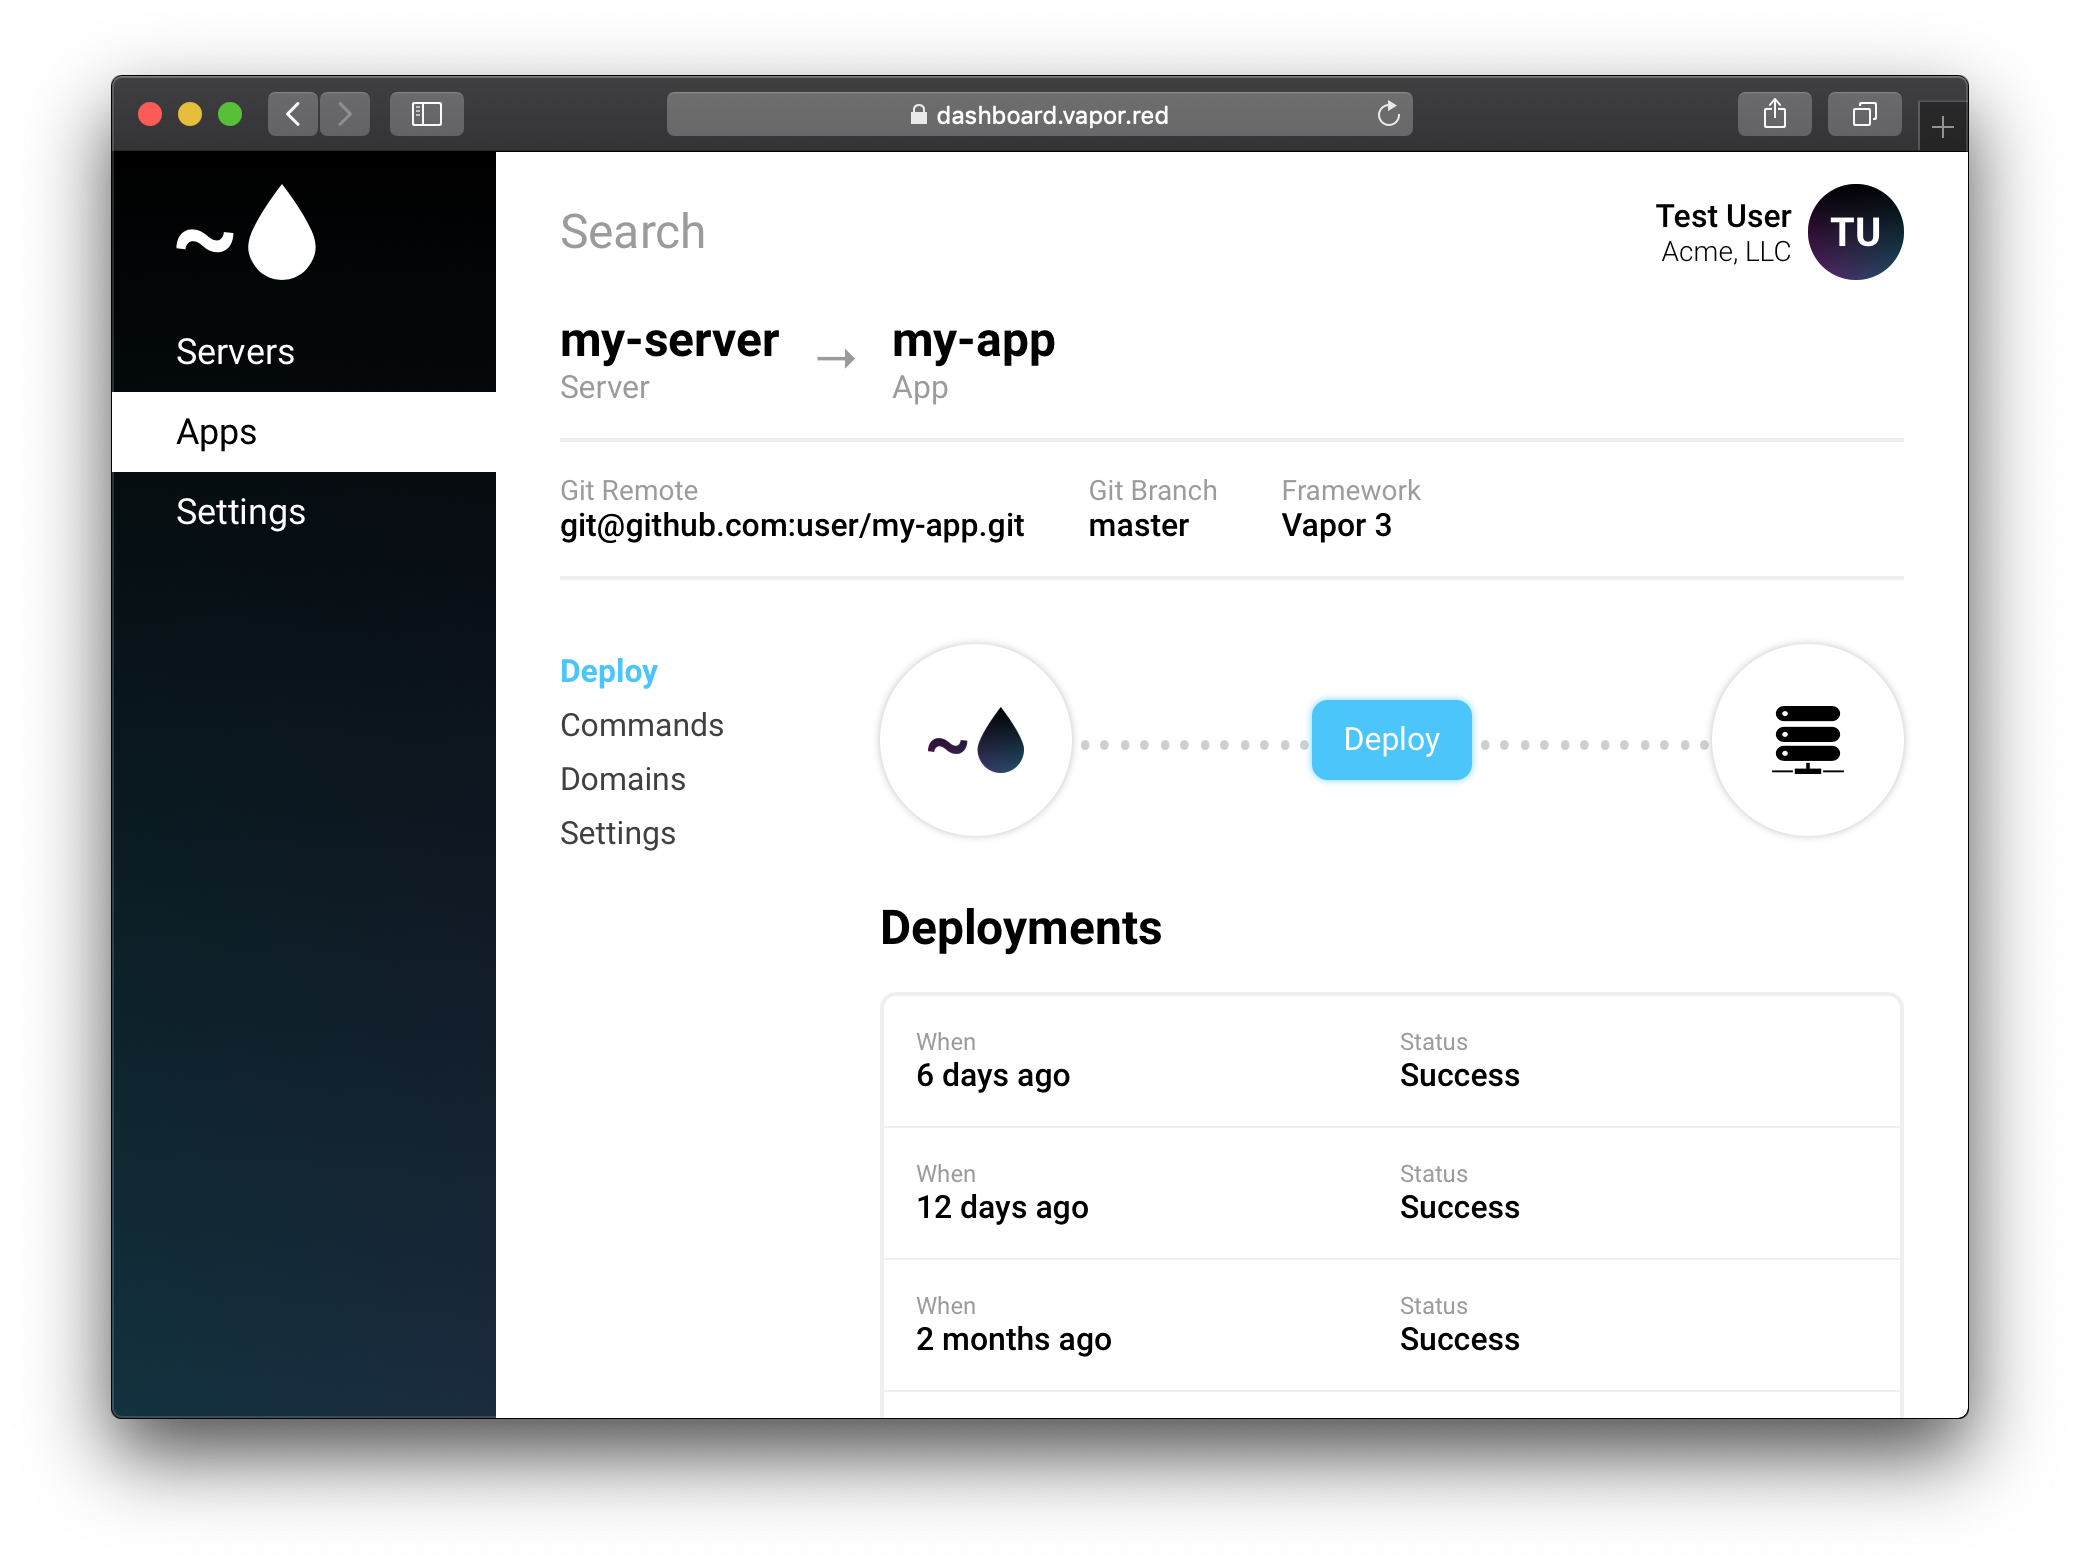
Next click Deploy and deploy your application.
External access without a domain
If you don't want to setup a domain yet, you can still access your app. Your app is automatically assigned a port. Starting from 8000 then 8001, 8002 etc.
Before accessing the app, we need to setup a firewall rule, so go to Network and create a new entry.

The port is the port of the app, since this is your first app, enter 8000. The source is where it's accessible from, 0.0.0.0/0 will allow access from all IPv4 (It's currently not possible to allow IPv6 this will come later)
After this you can access your app at http://SERVER-IP:8000.
View application logs
To view your application logs, under your app go to Commands these are commands running through Supervisor, click the first entry, this is automatically created for all vapor apps, and is your run command.
Under here click Load logs this will start tailing your stdout and stderr logs directly from the server, so you get live log output.
Create database
To set up a database, you first need to install a database server. This can be done through the Dashboard, go to Databases and Install the engine you want.

Once the status is set to running, you can click Details and create a new database

Link database to your app
When your database is created, you can set it up in your environment variables under your app and Settings

The key can be whatever you want, this is what will be exposed to your application. The format of the URL for PostgreSQL is:
postgresql://MY-USER:MY-PASSWORD@HOST:PORT/MY-DATABASE
After this redeploy your application.
External access to database
If you want to access your database from your local computer, you can setup a firewall rule for it.
Go to Network and create a new rule

- Port is
5432which is the default port for PostgreSQL - Source is
0.0.0.0/0which is everywhere
Warning
It's generally adviced to NOT allow access from everywhere, instead use your external ip, you should end the IP with /32 to only allow that specific ip.